I tend to be a pretty tidy person. I wouldn't go as far as to say I'm a "Neat Freak" but I have to admit that I have the occasional OCD moment.
Recently when I've been working with my sewing pins, by the time I'm done they've ended up all over the place. This can obviously be very annoying at times. So I decided to create a special place for them to call home. An easy DIY no sew teacup pincushion!
I hope you guys enjoy this quick {And super cute} tutorial!
~ What You'll Need ~
Teacup
10" x 10" {25cm x 25cm} Piece Of Fabric
Stuffing
Rubber Band or Hair Band
~ Tutorial ~
Step 1~ Gather all your supplies together before starting.
Step 2~ Taking your piece of fabric lay it flat, upside down. You want the fabrics pattern to be on the outside when you're done for that extra bit of cuteness.
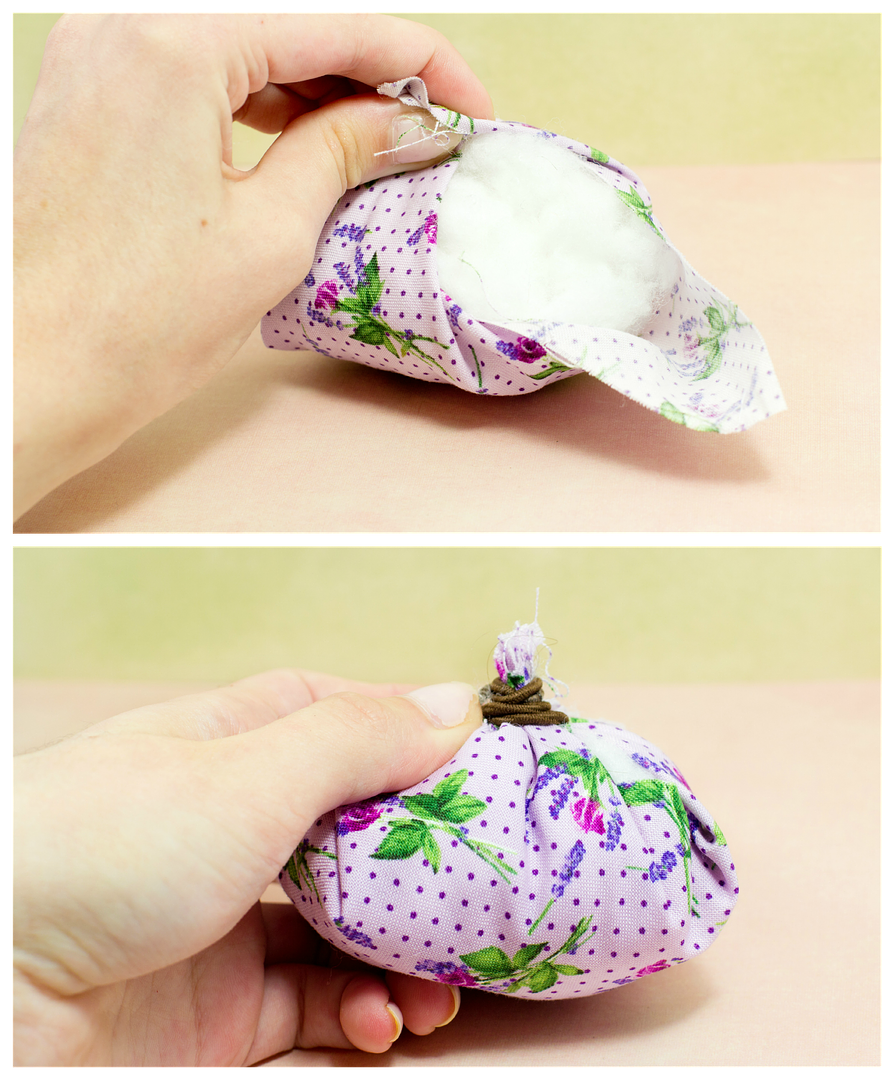
Step 4~ Slowly and carefully take each corner of the fabric and bring it together, making sure that the stuffing is in the middle.
Step 5~ Taking the rubber/hair band in your hand, wrap it tightly around the top of the ball of stuffing.Check to make sure that no stuffing is showing before placing the rubber/hair band side down into your teacup.
If your teacup is not particularly special to you, or you want your pincushion to have extra hold then simply place a bit of glue at the bottom of the teacup before placing the pincushion in the inside.
And you're done!!
I hope you all enjoyed this tutorial, I'm sure the teacup pincushion looks absolutely
I hope you all enjoyed this tutorial, I'm sure the teacup pincushion looks absolutely
amazing in your "Creative Space"!
If you did make this quick DIY, please post a photo of it too my Facebook Page
I'd love to see it. 


